TNT Mining Pets Guide
Hatch, equip, and stack training multipliers with your best companion.
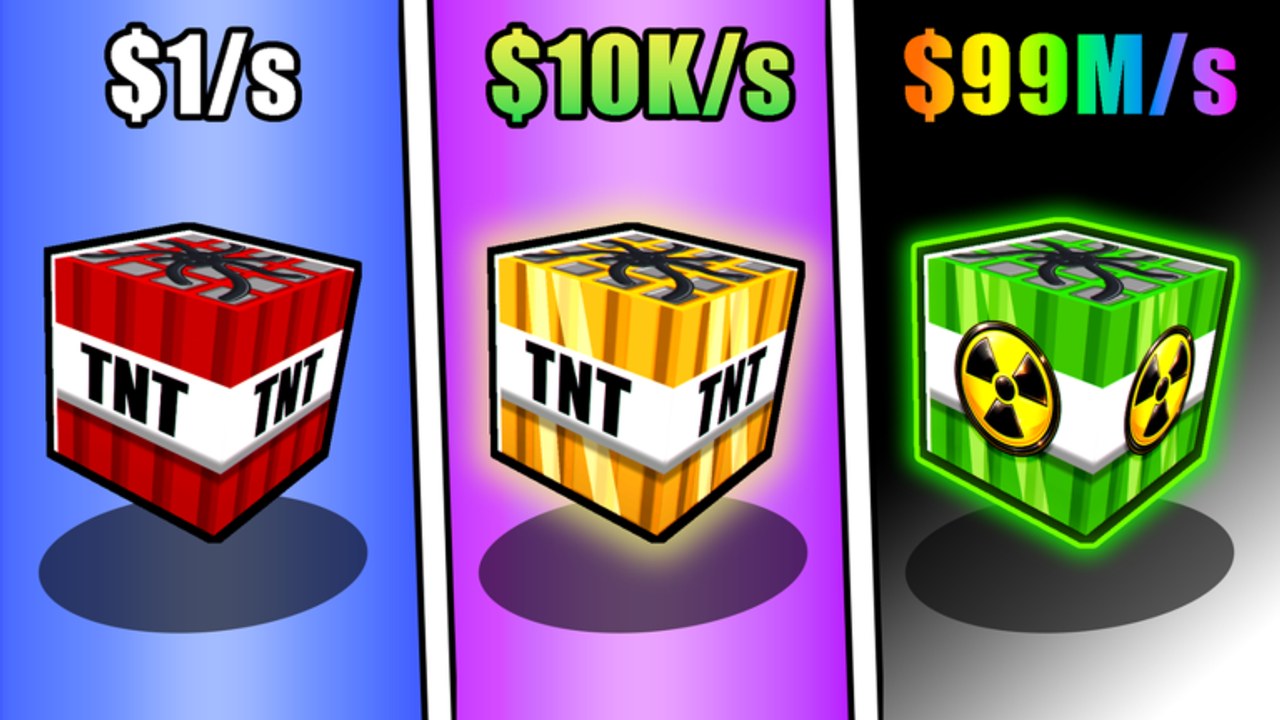
Pets are one of the quiet power systems in +1 TNT Mining by Slap Core Games. The game is free-to-play on Roblox, and the visible loop is train Damage, place TNT, light it with flint, collect blocks, sell for Cash, upgrade, Rebirth, and unlock deeper areas. Pets sit underneath that loop and multiply how fast Damage returns after every Rebirth and every idle minute in a training zone. If you treat pets as cosmetics, you will watch equally geared miners pull ahead for no obvious reason. This guide covers how pets fit the economy, how to hatch and equip them, and how to pair them with Dirt through Ruby training zones. For ranked picks, use the dedicated pets tier list. For overall progression philosophy, return to the Players Hub.
Why pets exist in a TNT mining simulator
Every efficient run depends on Damage. Higher Damage means larger explosions, more blocks per placement, and more Cash per sell. You raise Damage by clicking your equipped TNT or by standing in training zones. Pets apply a passive multiplier to that training gain rate. The multiplier works while you mash clicks and while you AFK near a highlighted training spot. That double coverage is why pets matter for both sweaty sessions and relaxed ones.
Because Rebirth resets Damage and level while keeping Cash, TNT unlocks, and upgrades, your post-Rebirth recovery speed becomes a competitive skill. Pets shorten that recovery. Stronger pets mean you spend less of each session climbing back to the Damage you just sacrificed, which means more time placing TNT in high-value areas instead of rebuilding stats.
Hatch and obtain pets
Pets are obtained through the game’s pet acquisition flow (eggs, shop offers, or event rewards depending on the current patch). Treat hatching like any other Cash or premium sink: only spend when the expected training multiplier beats the next upgrade on your main path. Early accounts should not empty their wallet on vanity pets while carry capacity, placement limit, movement speed, collection range, and luck upgrades are still cheap relative to their impact.
Practical hatch habits:
- Bank enough Cash for your next area unlock or Rebirth-gated training zone before gambling on pets.
- Prefer pets that clearly raise training gain over pets that only change appearance.
- After any update that adds new eggs or pet rarities, re-check the pets tier list before investing.
- Keep at least one reliable pet equipped at all times so you never train at the naked base rate.
If a patch introduces limited eggs, decide whether the limited pet’s multiplier is worth diverting Cash from TNT tiers. Multipliers that permanently accelerate training usually beat temporary TNT flex purchases.
Equip and manage your active pet
Equipping is not optional busywork. Open the pet menu from the HUD, select the companion with the best training multiplier you own, and confirm it is active before you start clicking or walking to a zone. Swap immediately when you hatch an upgrade. Do not leave a starter pet equipped for days after you own something stronger.
Inventory tips that save mistakes:
- After Rebirth, verify the pet is still equipped before you begin the Damage climb.
- After teleporting between Training, Shop, Sell, and mine areas, glance at the pet indicator if the UI shows one.
- When comparing two pets, read the training bonus first; ignore rarity labels if a lower rarity somehow has a better live multiplier for your build.
- If you play on Mobile or Console, learn the pet menu path once using the Controls page so you are not hunting buttons mid-grind.
Training synergy: pets plus Dirt to Ruby zones
Training zones are the AFK half of Damage growth. As you Rebirth, you unlock stronger spots in a clear ladder: Dirt, Stone, Cactus, Silver, Gold, and Ruby. Pets multiply whatever zone you stand in. That means a good pet on Dirt is fine early, but a good pet on Ruby is how late-game players rebuild Damage in minutes instead of hours.
Synergy rules of thumb:
- Always combine best pet + best unlocked zone. Never AFK in Dirt because it is closer if Ruby is available.
- Manual click sessions still want the pet equipped. Pets are not zone-only; they boost click training too.
- Rebirth planning includes pet strength. If your pet is weak, you may need a longer retrain window after each Rebirth—or delay a Rebirth until you hatch something better.
- Luck and speed upgrades support pet-powered loops. Luck improves valuable drops when you return to mining; speed gets you from Ruby training back to the mine and Sell faster.
- Carry and placement upgrades convert training into Cash. Pets raise Damage; TNT placements spend that Damage. If placement is capped too low, pet power is underused.
A strong session order looks like this: equip best pet → train in highest zone (or click if you are active) → move to the deepest unlocked mine → place TNT → ignite with flint → collect → Sell → spend Cash on the upgrade that most improves the next loop → repeat. Pets make step one permanently better.
Pets versus other Cash sinks
Cash pressure is real because areas, TNT tiers, and upgrades all compete. Use this decision filter:
- If your training feels slow after Rebirth, pets and zone access beat another mid-tier TNT.
- If explosions are strong but trips are short, buy carry, placement, or range before more pet rolls.
- If you walk forever between menus, buy speed.
- If blocks feel low value for the depth you mine, invest in luck and deeper area unlocks.
- If you are comparing two similar pets, pick the higher training multiplier and move on—do not spiral on cosmetics.
Codes can soften the economy. Whenever active rewards appear, redeem them from the Codes Hub before hatching so you are not spending the only Cash you needed for an area gate.
Mid-game and late-game pet goals
Early game: Any equipped pet is a win. Focus on learning flint ignition, Sell routing, and basic upgrades while saving for your first meaningful Rebirth.
Mid game: Target a pet that noticeably shortens retrain time. Pair it with Stone, Cactus, or Silver zones as they unlock. Start consulting the pets tier list so you stop hatching blindly.
Late game: Optimize for the highest training multiplier you can sustain, stand in Gold or Ruby, and treat pet upgrades as part of leaderboard maintenance. Watch the Updates Hub for new pets that reshuffle the list.
Common pet mistakes
- Training for long stretches with no pet equipped.
- AFK in a weak zone while a stronger Rebirth-gated zone is unlocked.
- Spending all Cash on eggs while carry and placement are still starter level.
- Assuming rarity icons matter more than the actual training bonus text.
- Ignoring pets after Rebirth because “Damage will come back anyway”—it comes back faster with a multiplier.
- Never reading patch notes when Slap Core Games adds pet-related balancing.
Related pages to keep open
- Players Hub — progression and leaderboard mindset
- Pets tier list — ranked companions
- Tier List Hub — all ranking pages
- Guides Hub and Getting Started
- Tools Hub and Controls
- Wiki Hub — full systems map
- Updates — patch tracking
Pets do not replace TNT skill, flint timing, or Rebirth discipline. They multiply the training engine those skills feed. Hatch with intention, equip without fail, stand in the best zone you own, and use the pets tier list whenever you are about to spend serious Cash on the next companion.
Frequently Asked Questions
Quick answers to the most common questions.
Do pets work in AFK training zones?
Yes. Pet training multipliers apply to automated zone training and to manual clicking, so keep your best pet equipped either way.
Should I buy pets before upgrades?
Early on, secure carry, placement, and basic TNT capacity first. Mid game, a strong training pet often beats another average TNT purchase.
Where can I see which pets are best?
Use the pets tier list for rankings, then return here for hatch, equip, and training-zone synergy advice.
Do I lose pets when I Rebirth?
Rebirth resets Damage and level. Pets remain part of your account progression—always re-check that your best pet stays equipped after you Rebirth.