TNT Mining How to Make Money (Cash Guide)
Turn every train–blast–sell cycle into faster Cash with TNT ROI, Rebirth multis, and smart upgrades.
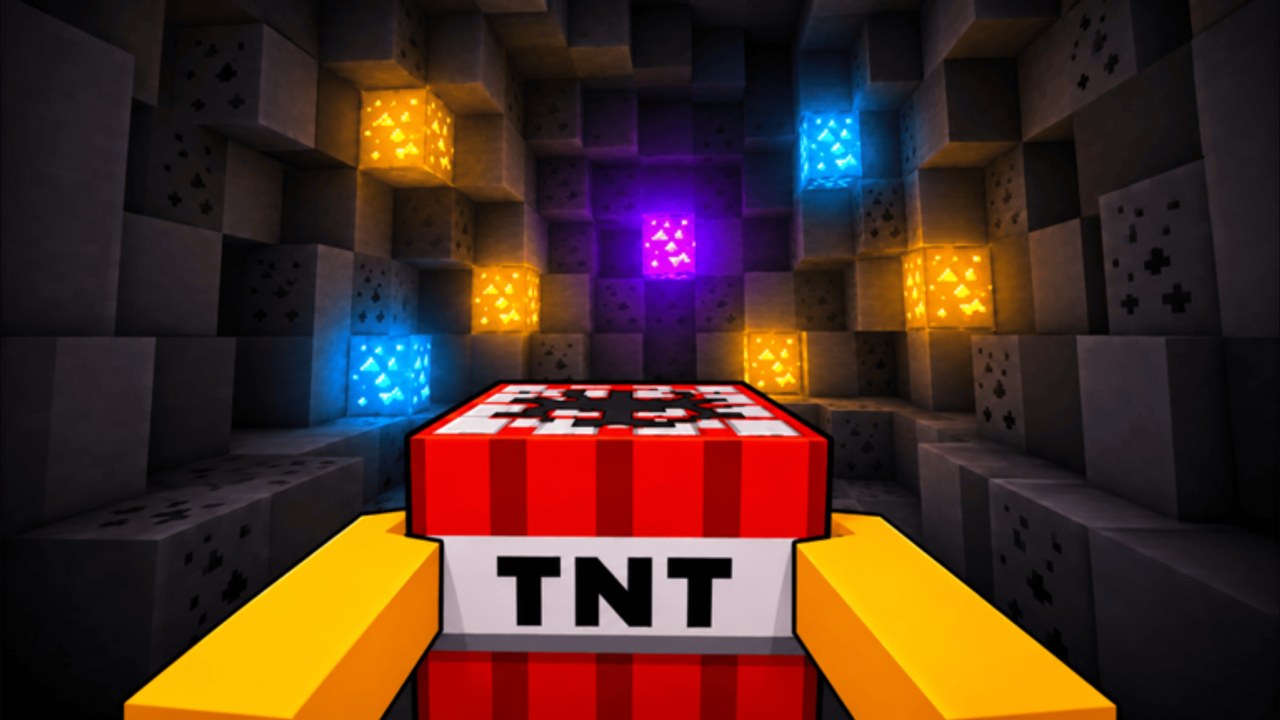
Cash is the pacing currency of +1 TNT Mining by Slap Core Games. Almost every mid-game goal — stronger TNT sticks, station upgrades, black-wall area unlocks, and pet eggs — is paid in Cash earned when you sell blocks. This guide focuses on raising Cash per minute without inventing shortcuts: tighten the sell loop, buy TNT that pays for itself, take Rebirth Cash multipliers early, spend on income-facing upgrades, open richer mines, and use pets so Damage rebuilds faster after every reset.
If you are brand new, skim Getting Started first so place → flint → collect → sell already feels automatic. Then return here when your wallet stalls.
The sell loop that actually prints Cash
Every profitable minute follows the same spine:
- Train Damage (clicks or Training spots — see How to Train).
- Enter your deepest affordable mine, place TNT up to your placement limit.
- Equip flint, ignite, walk the rubble, and collect blocks.
- Return to the lobby Sell station and convert inventory into Cash.
- Immediately decide: next TNT tier, an upgrade breakpoint, an area unlock, or another blast trip.
Cash only appears at Sell. Hoarding blocks in inventory earns nothing. Early on, sell often so you unlock the next shop TNT instead of staring at a full bag. Later, fill carry capacity before each lobby trip so travel overhead shrinks — that is why carry and placement upgrades are income tools, not cosmetics.
Placement charges refill when you leave the mine. Treat each lobby return as a full reset of your blast budget, then dump every charge productively on the next visit.
TNT tier ROI — buy power that clears more value
Shop TNT adds a large base Damage that stacks with trained Damage. Trained Damage carries across TNT types, so a stick upgrade multiplies every training minute you already invested. Cheap TNT that cannot clear a chamber wastes fuse time; ultra-expensive TNT that empties your Cash before you can Rebirth or unlock an area can also stall you.
Practical ROI rules:
- Prefer the next TNT tier when explosions still leave large unmined pockets after a full placement set.
- Delay a vanity mid-tier purchase if the Cash on screen almost opens a black-wall area or funds a placement/carry breakpoint.
- After any big TNT buy, train for a few minutes so base Damage and trained Damage meet in the middle.
- Cross-check stick value on the TNT Blocks tier list before dumping a session of sells into the wrong unlock.
Think of TNT as the amplifier on top of training. Training alone on a starter stick eventually plateaus; shop tiers reopen the curve.
Rebirth Cash multipliers — the real long-term raise
Rebirth resets Damage and levels but keeps Cash, TNT unlocks, and upgrades. In return you gain permanent Damage gain-rate and Cash multipliers on block sales. Those Cash multis are how later area gates become realistic.
Money-focused Rebirth habits:
- Rebirth as soon as the level gate opens. Extra levels still wipe and delay permanent Cash multi.
- Redeem any active Codes before a planned Rebirth so free Cash rides the new multiplier.
- Rebuild Damage quickly on your best Training spot with pets equipped, then resume mining on your strongest kept TNT.
- Do not skip Rebirth to protect a pretty Damage number — wallet growth after the multi usually overtakes hoarded Damage within a short session.
If area unlocks feel impossible, the missing piece is usually stacked Rebirth Cash multis, not one more raw grind in Dirt.
Upgrades that raise income (range, carry, placement, speed)
Station upgrades persist through Rebirth, so every level is a forever raise to loop speed. For Cash farming, prioritize the bottlenecks that steal blocks or trips:
| Upgrade | Why it prints money |
|---|---|
| TNT placement limit | More detonations per mine visit = more blocks per trip |
| Carry capacity | Fewer forced early sells; fuller bags each lobby run |
| Collection range | Recover scattered loot after big blasts instead of leaving Cash on the floor |
| Movement speed | Shorter lobby ↔ mine transit; more sell cycles per hour |
| Area Mine Luck | Better outcomes when farming value in deeper zones |
Full priority notes live on the Upgrades guide. Avoid maxing speed first while you still plant a single charge. Placement and carry usually move Cash/minute more for early accounts.
Area unlocks — rarer blocks, denser sells
Deeper mines past the starter plot are gated by Cash at the black wall green button. Higher areas offer rarer, higher-value blocks, which is the cleanest structural raise to sell income once your Damage can clear them. Read Unlock Areas for wall, Teleport, and zone pacing.
Money tips for areas:
- Save a Cash buffer when the green button is close; one more tiny upgrade tick rarely beats a whole new mine.
- After unlock, use Teleport so you are not re-walking the tunnel every cycle.
- Pair Area Mine Luck with frontier zones once clears are reliable.
- Confirm Rebirth Cash multis before camping a wall you cannot afford — multipliers fund the button.
Pets → faster training → more Damage → more Cash
Pets from eggs boost training gain for both manual clicks and AFK Training spots. Faster Damage rebuilds mean you return to profitable blast sizes sooner after every Rebirth, which raises lifetime Cash even though pets do not add Cash directly at the Sell booth.
Spend on pets when:
- Post-Rebirth rebuilds feel painfully slow.
- You AFK on Training spots often and want every tick multiplied.
- The expected training multi beats dumping the same Cash into a weak mid-tier TNT.
Compare hatch targets on Pets and the Pets tier list. Equip your best pet before long train or AFK sessions.
Session plans that protect income
Short 20-minute farm: Brief train → full placement mine run → sell → buy only a clear TNT or upgrade breakpoint → optional park on Training spot.
Rebirth day: Push to level gate → Rebirth immediately → pet + best Training spot rebuild → strongest TNT route in deepest owned area → bank toward next wall or placement/carry.
Stall diagnosis: If sells feel weak, check in order — selling too rarely, TNT tier behind shop, placement/carry too low, Damage undertrained, missing Rebirth Cash multi, still stuck in Dirt while a wall is affordable.
What not to do when chasing money
- Ignore flint and leave TNT unlit (zero blocks, zero Cash).
- Sit on finished Rebirths while area gates loom.
- Blow the area-unlock bankroll on cosmetic micro-upgrades.
- Train forever without mining, or mine forever on near-zero Damage.
- Trust shady automation over the legit loop — see Scripts only as risk reading.
Related guides
- Getting Started — first-session loop and controls.
- How to Train — click vs AFK Damage.
- Rebirth — permanent Cash and gain-rate multis.
- Upgrades — carry, placement, range, speed, luck.
- Unlock Areas — black wall Cash gates.
- Noob to Pro — full progression roadmap.
- TNT Blocks tier list, Codes, Guides Hub — shop order, freebies, index.
Master the sell loop, buy TNT that clears value, stack Rebirth Cash multipliers, and spend on upgrades and areas that remove friction. That combination — not lucky one-off gifts — is how wallets grow from the first Dirt blast to deep Teleport farming in +1 TNT Mining.
Frequently Asked Questions
Quick answers to the most common questions.
What is the fastest honest way to earn Cash in +1 TNT Mining?
Train enough Damage, place and ignite a full TNT set, collect, sell immediately, then spend on better TNT, placement/carry upgrades, Rebirth Cash multipliers, and deeper area unlocks.
Do Rebirths help me make more money?
Yes. Rebirth keeps your Cash and grants permanent Cash multipliers on sells, which fund later black-wall area unlocks.
Which upgrades matter most for income?
Placement limit and carry capacity raise blocks per trip; collection range recovers blast loot; movement speed adds extra sell cycles per hour.
Should I buy pets just for Cash?
Pets boost training, not the Sell booth directly. Faster Damage rebuilds after Rebirth still raise lifetime Cash per hour.
When should I unlock a new area instead of more TNT?
When the green button is affordable and your Damage can clear the new zone — rarer blocks usually beat another weak mid-tier stick.