TNT Mining Noob to Pro Progression Roadmap
From your first flint spark to mid and late game: train, sell, TNT, upgrades, Rebirth, areas, and pets.
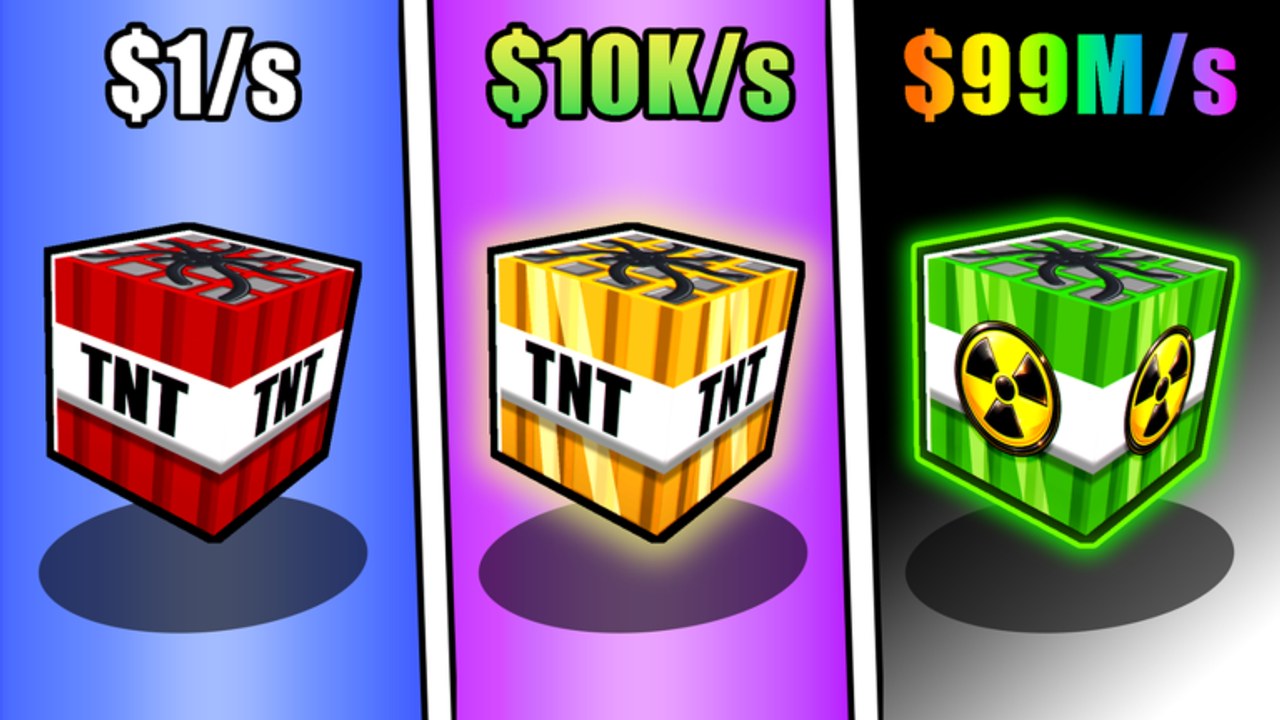
This roadmap turns +1 TNT Mining from a confusing lobby into a clear climb. Slap Core Games built a free-to-play Roblox incremental around one durable loop: train Damage, place TNT, ignite with flint, collect blocks, sell for Cash, buy better TNT and upgrades, Rebirth for permanent multipliers, unlock deeper areas, and equip pets that accelerate training. Follow the stages below in order; jump ahead only when the earlier stage already feels automatic.
Pair this page with the Guides Hub when you need a single index, and with Make Money when your wallet is the bottleneck.
Stage 0 — First blast (minutes 0–15)
Goals: learn controls, complete one full cycle, sell once, buy nothing panic-shaped.
- Equip TNT and raise a little Damage with Left Mouse Button clicks or a Training spot.
- Walk into the starter mine, place a charge, swap to flint, ignite.
- Collect shattered blocks, return to the lobby, sell at the Sell station.
- Note that placement charges refill when you leave the mine.
If TNT sits inert, you forgot flint — the most common noob stop. Full first-session detail lives in Getting Started. Controls map (WASD, Space, E, number keys, LMB) is on Controls.
Exit criteria: You can place → flint → collect → sell without thinking.
Stage 1 — Train with intent
Tiny explosions mean undertrained Damage. Mix short click bursts (fastest Damage per minute) with Training area AFK stands when you need a break. Pets multiply both modes once you hatch something — even a cheap early pet helps.
Read How to Train for Dirt → Stone → Cactus → Silver → Gold → Ruby style spot progression after Rebirths. Never AFK on a weak spot after a better one unlocks.
Exit criteria: Blasts clear satisfying pockets for your current TNT instead of scratching the wall.
Stage 2 — Sell loop and first shop TNT
Sell early and often. Cash funds the next TNT tier, which adds high base Damage on top of trained Damage that carries across sticks. Check the TNT Blocks tier list so you buy breakpoints, not vanity mid-steps that you replace in one session.
Spending order while still a noob:
- Affordable next TNT tier that clearly widens blasts.
- Placement limit so each mine visit drops more fuses.
- Carry capacity so you stop truncating pickups.
- Collection range and movement speed as trips get longer.
Details: Upgrades and Make Money.
Exit criteria: You own at least one meaningful shop TNT upgrade and can fill a short placement set each visit.
Stage 3 — First Rebirth (do not stall)
Levels mainly gate Rebirth. When the option appears, take it. You keep Cash, TNT unlocks, and upgrades; Damage and levels reset. You gain permanent Damage gain-rate and Cash multipliers that stack on later Rebirths.
Post-Rebirth micro-checklist:
- Equip best pet.
- Stand on the best Training spot you own; optional click burst.
- Mine with your strongest kept TNT.
- Sell, then evaluate upgrades vs the next area wall.
Skipping Rebirth to protect a Damage number is the classic mid-noob trap. Permanent Cash multi is how black-wall gates become realistic.
Exit criteria: One completed Rebirth and a Damage rebuild that surpasses your pre-reset comfort level.
Stage 4 — Upgrade breakpoints and loop speed
With Rebirth multis online, station upgrades become the forever raise to Cash per hour. Prioritize placement and carry before vanity speed maxing. Collection range matters right after a big TNT jump when loot scatters farther. Area Mine Luck waits until you farm specific zones for value.
Run controlled trips: if you leave blocks behind, buy carry/range; if you walk back after one fuse, buy placement; if lobby transit eats the clock, buy speed.
Exit criteria: Mine visits feel limited by strategy, not by a single obvious missing upgrade.
Stage 5 — Unlock areas past Dirt
Walk to the far black wall with enough Cash and press the green unlock button. Deeper areas mean rarer blocks and better sells. Teleport between owned zones so you stop re-walking the whole tunnel. Full wall and Teleport notes: Unlock Areas.
Fund walls with Rebirth Cash multipliers first. Camping the wall without multis wastes sessions.
Exit criteria: At least one area beyond the starter mine unlocked and reachable by Teleport.
Stage 6 — Pets as training infrastructure
Treat pets as Damage infrastructure, not fashion. Hatch when rebuilds after Rebirth feel slow or when AFK ticks need a multi. Compare options on Pets and the Pets tier list. Keep your best pet equipped before every long train.
Exit criteria: You consciously equip pets before training instead of mining naked after every reset.
Stage 7 — Mid to late rhythm
Pro-shaped sessions rotate a stable rhythm:
- Train on the highest unlocked spot (pets on).
- Teleport to the deepest clearable area.
- Dump full placement sets, flint, collect with range.
- Sell; buy TNT or upgrades only at clear breakpoints.
- Rebirth on threshold whenever it appears.
- Bank toward the next wall when the button is close.
- Recheck Updates after patches so prices and tiers stay honest.
Optional freebies: watch Codes after updates, but never pause the loop waiting on thin promo lists. Avoid relying on Scripts; ban risk is not a progression stage.
Stage checklist (print-friendly)
| Stage | Focus | Key links |
|---|---|---|
| 0 | First sell cycle | Getting Started |
| 1 | Damage training | How to Train |
| 2 | TNT + early upgrades | TNT Blocks, Upgrades |
| 3 | First Rebirth | Rebirth |
| 4 | Income upgrades | Make Money |
| 5 | Area unlocks | Unlock Areas |
| 6 | Pets | Pets, Pets tier list |
| 7 | Mid/late loop | Guides Hub, Updates, Tier List |
Common derails (and fixes)
- No flint muscle memory — number-key swap until ignition is automatic.
- Hoarding blocks — sell; Cash in shop beats inventory screenshots.
- Skipping Rebirth — press it; keep Cash/TNT/upgrades anyway.
- Speed before placement — more fuses first.
- Ignoring pets — equip anything that multiplies training.
- Wrong TNT buy — verify against the tier list.
- Wall camping without Cash multi — Rebirth first, then unlock.
Related hubs
Browse Players, Tools, Links, and Codes alongside this roadmap. When Slap Core Games ships balance changes, reread Updates then return to the stage you are actually in — do not restart Stage 0 unless you made an alt.
Climb one exit criterion at a time. Noob-to-pro in +1 TNT Mining is not a single purchase; it is disciplined repeats of train → place → flint → collect → sell → spend → Rebirth → unlock, with pets and upgrades removing friction each loop.
Frequently Asked Questions
Quick answers to the most common questions.
What should I do first as a complete noob?
Complete one full cycle: train a little Damage, place TNT, ignite with flint, collect blocks, and sell in the lobby before worrying about Rebirth or deep areas.
When do I take my first Rebirth?
As soon as the level gate unlocks. You keep Cash, TNT unlocks, and upgrades while gaining permanent Damage gain-rate and Cash multipliers.
What order should I unlock systems?
Train and sell loop first, then shop TNT and early upgrades, then Rebirth, then deeper area unlocks, with pets layered in to speed training rebuilds.
Do I need pets to reach mid game?
No, but pets multiply training for clicks and AFK spots, so post-Rebirth rebuilds and Cash per hour improve sooner with them equipped.
Where do I go if Cash progress stalls?
Open the Make Money guide and check TNT tier, placement/carry upgrades, Rebirth Cash multipliers, and whether a black-wall area unlock is overdue.