TNT Mining Upgrades Guide
Spend Cash at the Upgrades station to carry more, place more, move faster, collect wider, and improve mine luck.
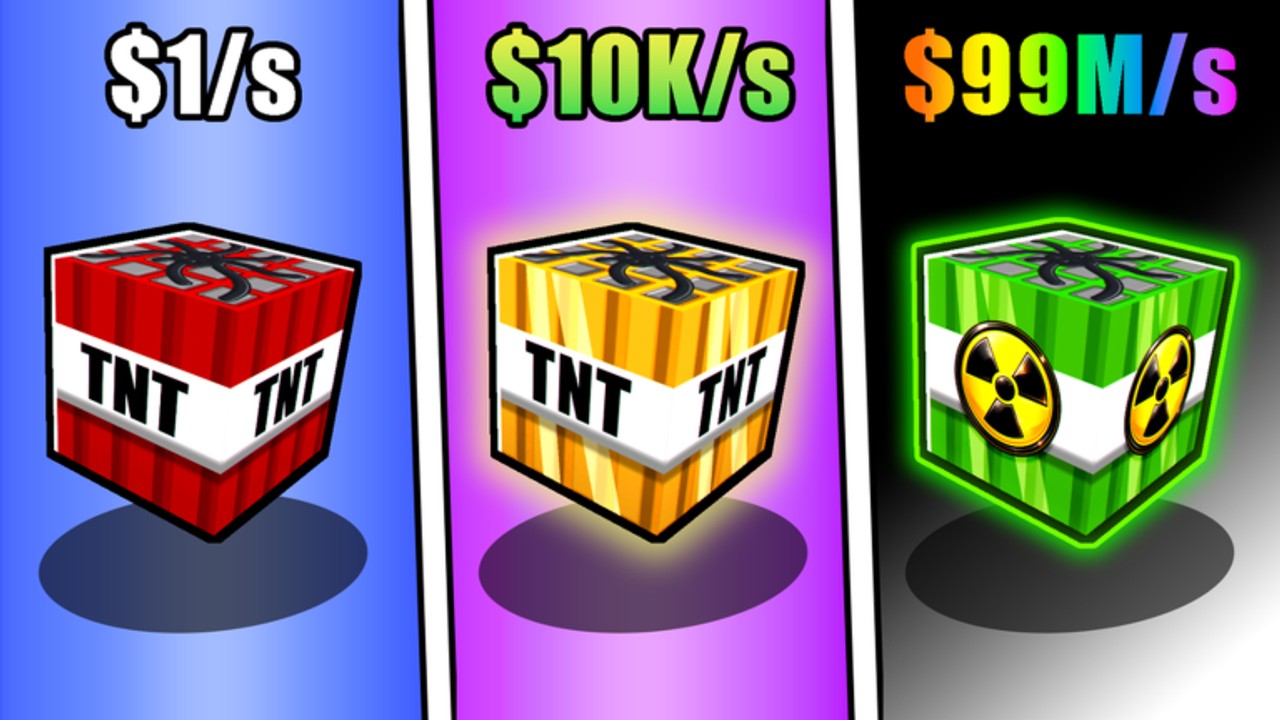
The Upgrades station turns Cash into permanent quality-of-life and efficiency stats for +1 TNT Mining. Unlike temporary Damage (which Rebirth resets), station upgrades persist through Rebirths. That makes every thoughtful purchase a long-term investment. This guide explains each upgrade line, beginner vs mid-game priorities, and how upgrades interact with TNT tiers, training, and area unlocks.
Upgrade lines
TNT carry capacity
Raises how much explosive supply you can hold for trips. Higher carry means fewer awkward moments where you want another charge but must retreat. Pair with placement limit so you can actually deploy what you bring.
TNT placement limit
Controls how many TNT charges you can plant before returning to the lobby to refill. This is often the highest-value early upgrade: one extra detonation per trip multiplies blocks gained from the same trained Damage and flint cycle.
Movement speed
Speeds lobby runs, wall walks, Training spot swaps, and rubble circuits. Speed rarely looks dramatic in a single screenshot, but over a one-hour session it adds whole extra mine trips. After you unlock Teleport between areas, speed still matters for in-zone collection routes.
Block collection range
Widens the pickup radius for shattered blocks. High Damage explosions scatter loot farther; without range, you waste time micro-walking every fragment. Range upgrades shine right after you buy a much stronger TNT stick from the shop.
Area Mine Luck
Improves outcomes tied to mining luck inside areas — better odds at desirable block results while you blast. Prioritize luck when you are farming specific zones for value rather than purely clearing volume. Stack luck with deep area Teleports once your Damage can clear them.
Exact step costs live in the in-game station UI and may change in Updates. Always read the live tooltip before dumping a huge Cash stack.
What upgrades do not replace
Upgrades do not replace:
- Training Damage (How to Train)
- Better TNT base Damage (TNT Blocks tier list)
- Rebirth gain-rate and Cash multipliers
- Pets that boost training (Pets, Pets tier list)
A maxed speed upgrade on starter TNT still yields small blasts. Buy shop breakpoints and train first when those are obviously behind.
Beginner spending order
For your first few thousand (or first major Cash spikes):
- Placement limit — more fuses per visit.
- Carry capacity — support those placements.
- Collection range — reclaim full blast value.
- Movement speed — cut transit dead time.
- Area Mine Luck — once you farm with intent beyond raw volume.
Always leave a buffer for the next TNT tier if it is a large Damage jump. A single shop upgrade can outweigh three tiny station levels.
Mid-game and post-Rebirth spending
Because upgrades survive Rebirth, they are safe forever-buys. After a Rebirth:
- Rebuild Damage on your best Training spot.
- Confirm strongest unlocked TNT is equipped.
- Top up whichever upgrade bottleneck hurt your last runs (often range after a TNT jump, or placement if you still plant one charge).
- Bank Cash toward the next black-wall unlock if the green button is close.
If you are racing a Cash gate, pause non-critical station levels for a few sells — the area unlock plus Teleport usually increases income more than one more speed tick. Return to upgrades immediately after the wall falls.
Synergy examples
- High placement + high Damage: carpet a chamber, ignite, scoop with wide collection range.
- High speed + deep areas: Teleport in, place, gather, Teleport sell, repeat with minimal downtime.
- Luck + frontier zones: farm valuable blocks once clears are reliable.
- Carry + AFK train breaks: leave Training, dump a full placement set, return to AFK without feeling under-supplied.
Common upgrade mistakes
- Maxing movement speed first while placement limit is still one charge.
- Ignoring collection range after buying a huge TNT tier (loot left on the floor).
- Spending the Cash meant for a black-wall unlock on cosmetic-feeling micro-levels.
- Assuming upgrades reset on Rebirth (they do not — Damage and levels do).
- Never comparing station ROI to the next shop TNT on the tier list.
Session checklist
- Open Upgrades station; note next costs for placement, carry, range, speed, luck.
- Check TNT shop for a tier you can afford without stranding the area gate.
- Train briefly so new efficiency stats feed a strong blast (Getting Started loop).
- Mine, sell, reassess.
- Rebirth when available so Cash multi makes future upgrade levels cheaper in time if not in sticker price.
Related pages
- Guides Hub — all walkthroughs.
- Rebirth — permanent multis; upgrades kept.
- Unlock Areas — when to save Cash for walls.
- How to Train — Damage that upgrades amplify.
- Codes — free Cash toward levels.
- Controls — equip and interact keys while testing new limits.
- Scripts, Players, Updates, Links — extras, pets hub, patches, official links.
Spend deliberately. In TNT Mining the Upgrades station is how you turn Rebirth-safe Cash into faster loops, while training and TNT shop handle raw boom power. Balance those three wallets — station, shop, and area wall — and progression stays smooth from the first lobby Sell to Ruby-tier training and deep Teleports.
Frequently Asked Questions
Quick answers to the most common questions.
Do upgrades reset when I Rebirth?
No. Station upgrades stay. Only Damage and levels reset; Cash and TNT unlocks also remain.
Which upgrade should beginners buy first?
TNT placement limit is usually first, then carry capacity and collection range, with speed and Area Mine Luck following.
What does Area Mine Luck do?
It improves luck-related mining outcomes in areas, helping when you farm for better block results rather than pure volume.
Should I upgrade or buy new TNT?
Take major TNT base-Damage tiers when affordable; use upgrades to make each trip with that TNT more efficient.
Why does collection range matter more later?
Bigger explosions scatter blocks farther. Range upgrades reclaim loot you would otherwise walk past.